
Mobile SDK
This example demonstrates how an MPC node can run embedded in a library on a mobile device (iOS and Android) and how the MPC node running on the mobile device can be dynamically configured. This dynamic configuration allows your application to have many mobile devices. Each mobile device holds a share of its own secret signing key, while the other shares of the signing key are stored on the two backend nodes.
To run our example, follow the steps below:
Note
This example consists of a Builder Vault TSM with three MPC nodes. The first MPC node (Node 0) runs embedded on a mobile device (either Android or iOS). The two other MPC nodes in the Builder Vault run as backend servers in docker containers on your machine.
Prerequisites
Before trying our mobile nodes example, ensure that you have installed the following:
- Docker
- Make. On Debian you can get this by running
sudo apt-get install build-essentials. On MacOS you can runbrew install make. - Go (version 1.21 or later)
- Android Studio
- Virtual Android Device (version 33 or later)
- Xcode
- Virtual iOS Device
Step 1: Clone the Repository
To clone our repository, follow the steps below:
- Set the GOPRIVATE environment variable to gitlab.com/sepiorusing this command:
export GOPRIVATE=gitlab.com/sepior
- Add the GitLab credentials to your
$HOME/.netrcfile using the following command:
echo "machine gitlab.com login GITLAB_USERNAME password GITLAB_PASSWORD"
Note
Remember to replace
GITLAB_USERNAMEandGITLAB_PASSWORDwith the credentials supplied by our support team.
- Clone the repository with the following command:
git clone https://gitlab.com/sepior/multitenant-demo.git
Step 2: Setup the Backend Nodes
Open a terminal in the multitenant-demo/backend and follow the steps below:
- Allow Docker to access Nexus:
docker login nexus.sepior.net:19001
Note
Fill in the required credentials.
- Create and run the server node
make start-tsm
- Create users for
Node 1andNode 2:
make create-users
- Run the Go backend service:
make run
- To shut down the backend servers:
make clean
Step 3: Run the Embedded Node
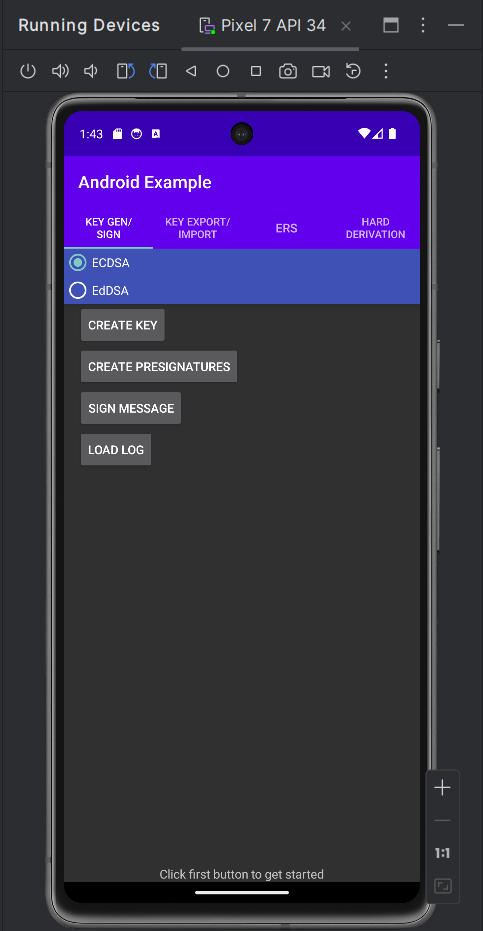
Android Node
Note
The embedded node configuration can be found in the following path:
androidv2/app/src/main/res/values/strings.xml. The dynamic embedded node player index is 0.
To run the node for Android, follow the steps below:
- Open the Project
- Click Menu > File > Open and select the
multitenant-demo/androidv2folder - Gradle will start syncing and downloading the required dependencies. Wait for this process to finish.
- Select the device and run the application.
- Click the buttons in the listed order to execute the keygen, pre-sign gen, and sign operation.
Note
The process can be observed through the mobile emulator log, within the node log on the app, and the logs of the builder vault nodes with
docker logs.
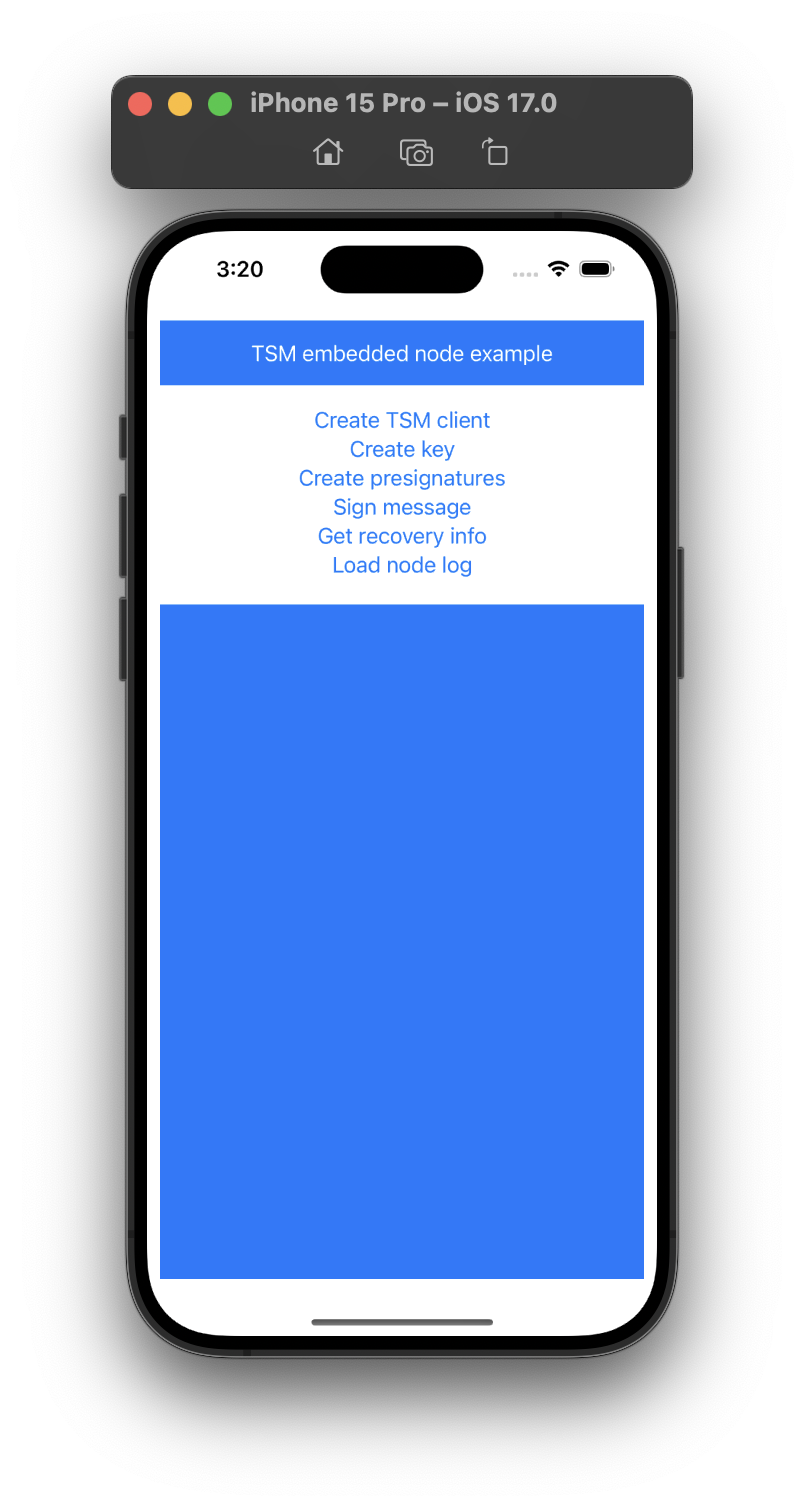
iOS Node
Note
The embedded node configuration can be found in the following path:
iosv2/ios-example/Defines.swift. The dynamic embedded node player index is 0.
To run the node for iOS, follow the steps below:
- Open XCode.
- Open the Project.
- Click Menu > File > Open and select the multitenant-demo/ios2 folder.
- The package manager will start syncing and downloading the required dependencies. Wait for this process to finish.
- Select the device and run the application.
- Click the buttons in the listed order to execute the keygen, pre-sign gen, and sign operation.
Note
The process can be observed through the mobile emulator log, within the node log on the app, and the logs of the builder vault nodes with
docker logs.
Updated 22 days ago